K8s isn't that hard to understand
A beginner-friendly tour of Kubernetes, kubectl, and why AI infrastructure gets real after the demo works.
By Shashwat Raj · Issue No. 003
Listen to this article
Shash
Last month, I attended Meta's @Scale: Systems & Reliability conference in Bellevue. The conference focused on AI systems, infrastructure, and reliability, and I learned a lot about how large companies think about Kubernetes, including Meta's internal infrastructure and Microsoft's Azure Kubernetes Service.
The conference also made me notice an interesting gap.
Right now, there is endless information about how to use AI models. People are learning how to prompt them, build agents, connect models to applications, and switch to a new model every time someone posts a benchmark on Twitter.
But there is much less beginner-friendly information about what happens after the AI demo starts working.
How do you deploy it? What happens when thousands of users arrive? How do you decide which machines should run your model? What happens when a server crashes?
And how do you make sure the GPU you are paying an unreasonable amount of money for is actually doing something?
That is the infrastructure side of AI, and Kubernetes is becoming a major part of it.
So I decided to write the simple Kubernetes explanation I wish I had when I started learning it, along with the kubectl commands that are actually useful in everyday workflows.
Before we get to Kubernetes, though, we need to talk briefly about Docker.
Only briefly. I promise.
If Docker is completely new to you, I recommend reading Dhravya's amazing article, Docker Explained to a 5-Year-Old. It gives a simple and approachable introduction to containers without immediately throwing a networking diagram at you.
The one-sentence explanation is that Docker packages your application and the things it needs into a container, allowing it to run more consistently across different computers.
Your code, libraries, runtime, and tools travel together inside the same package.
Docker helps solve the classic developer problem:
"It worked perfectly on my laptop."
That is great when you have one container.
The situation becomes more complicated when your application becomes popular and you suddenly need 50 containers running across several machines. Some containers crash, some machines run out of memory, traffic triples, and one server ends up doing all the work while another appears to be enjoying paid leave.
Managing all of that manually is where things begin to fall apart.
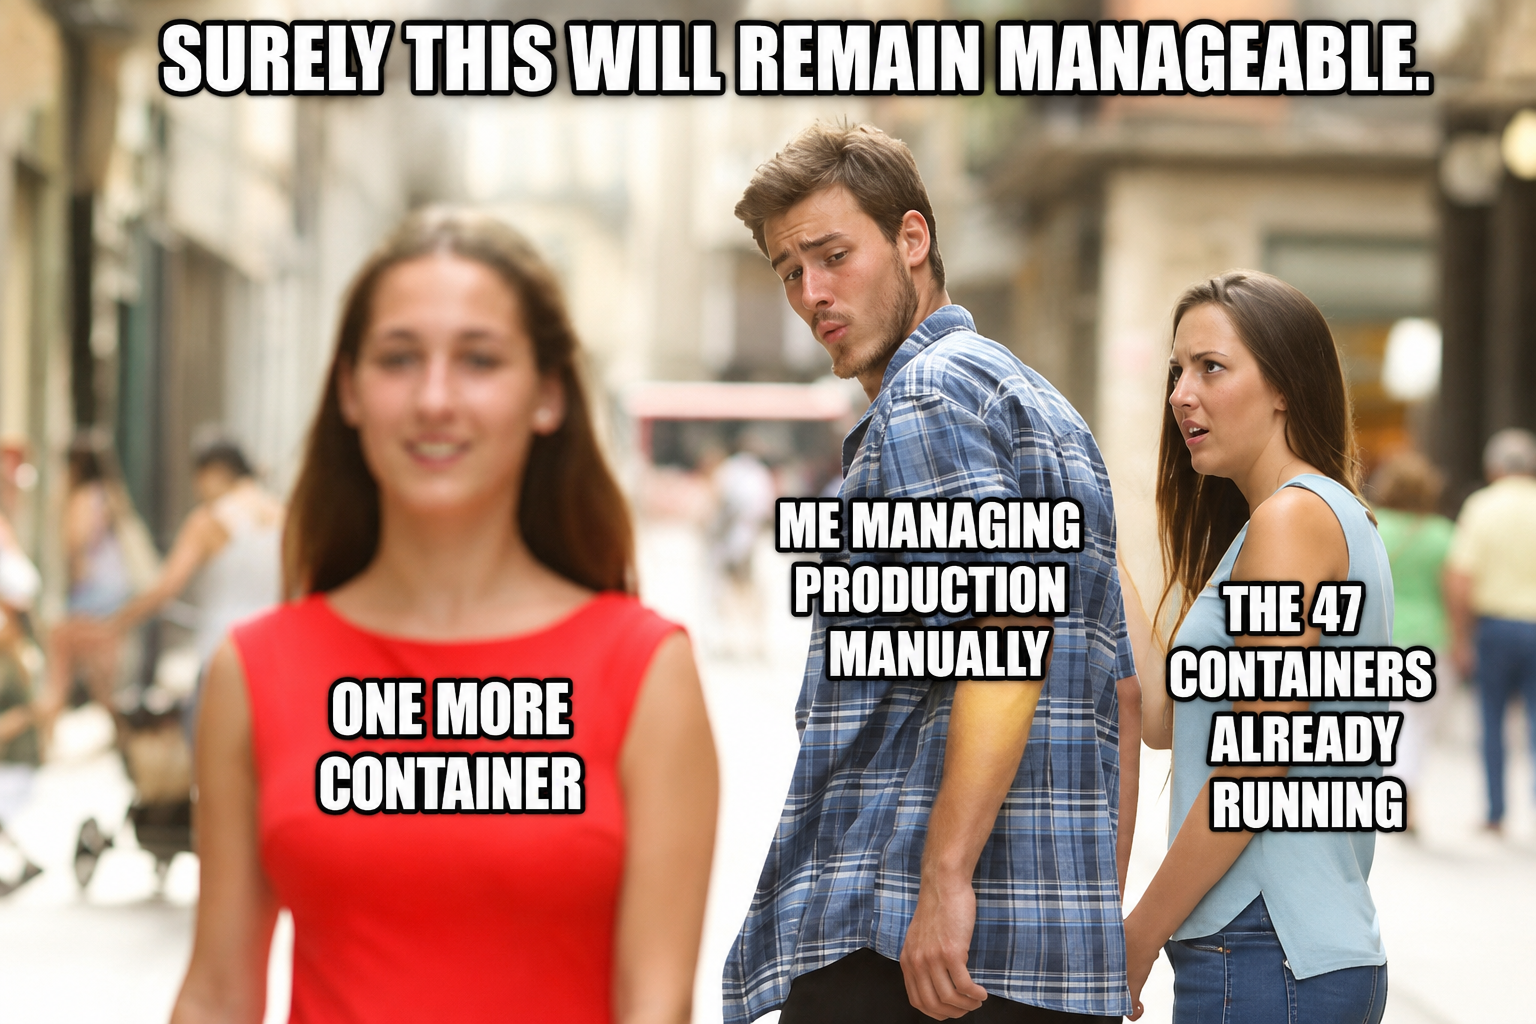
This is the problem Kubernetes tries to solve.
What Kubernetes actually does
Kubernetes is a system for managing containers across one or more computers.
Docker helps package the application.
Kubernetes helps operate it.
It decides where containers should run, how many copies should exist, what should happen when one crashes, and how users should reach the application. It can also add more copies when demand increases and gradually replace older versions when an application is updated.
The technical term for this is container orchestration.
That sounds complicated.
The simpler explanation is:
You describe what you want running, and Kubernetes keeps trying to make it true.
Kubernetes is also commonly called K8s because there are eight letters between the K and the s.
Apparently, typing the full word created unacceptable operational overhead.
Imagine a restaurant
Suppose you own a restaurant.
Your application is the food that customers want, and containers are the cooks preparing it.
When three customers arrive, one cook may be enough. When 3,000 customers arrive because your restaurant accidentally went viral, things become slightly more stressful.
You now need someone to decide how many cooks should be working, which kitchen each cook should use, what happens when one disappears, and whether more cooks are needed during busy hours.
Kubernetes is the restaurant manager handling those decisions.
With that analogy in mind, the main Kubernetes terms become much easier to understand.
Containers are the cooks
A container holds your application and the software it needs to run. That may include your code, libraries, programming-language runtime, system tools, and startup instructions.
In the restaurant analogy, the container is a cook who arrives with the recipe and all the equipment required to prepare one particular dish.
Docker helps package the cook.
Kubernetes decides where the cook should work.
Pods are the workstations
Kubernetes does not normally manage a container directly. It places the container inside something called a Pod.
A Pod is the smallest unit that Kubernetes deploys. You can think of it as a cooking workstation where the cook does their work.
Most beginner examples have one main container inside each Pod, although a Pod can contain multiple containers when they need to work very closely together.
Pods are also temporary. They can be deleted, replaced, restarted, or moved to another machine.
You should not treat a Pod like a beloved family pet.
It is closer to a paper cup.
Useful, replaceable, and probably gone sooner than expected.
Nodes and clusters are the kitchens
A Node is a computer that runs Pods. In our restaurant, a Node is one kitchen, and each kitchen can contain several workstations.
A Node might be your laptop, a virtual machine, a cloud server, or a very expensive machine containing one or more GPUs.
A cluster is the complete group of Nodes managed by Kubernetes.
One kitchen is a Node.
All the kitchens together form the cluster.
When Kubernetes needs to run a new Pod, it looks across the cluster and chooses a suitable Node. It considers things such as available CPU, memory, and specialized hardware.
In other words, Kubernetes is playing Tetris with computers.
Except every block has a monthly cloud bill.
Deployments describe what should exist
Imagine telling the restaurant manager:
"I always want three burger stations running."
That instruction is similar to a Kubernetes Deployment.
A Deployment describes how you want an application to run. For example, you might tell Kubernetes that you want three copies of your application.
Kubernetes then checks whether three Pods actually exist.
If one Pod crashes, Kubernetes creates a replacement. If you change the desired number from three to five, Kubernetes creates two more.
You describe the desired state.
Kubernetes observes the actual state.
When the two do not match, Kubernetes tries to fix the difference.
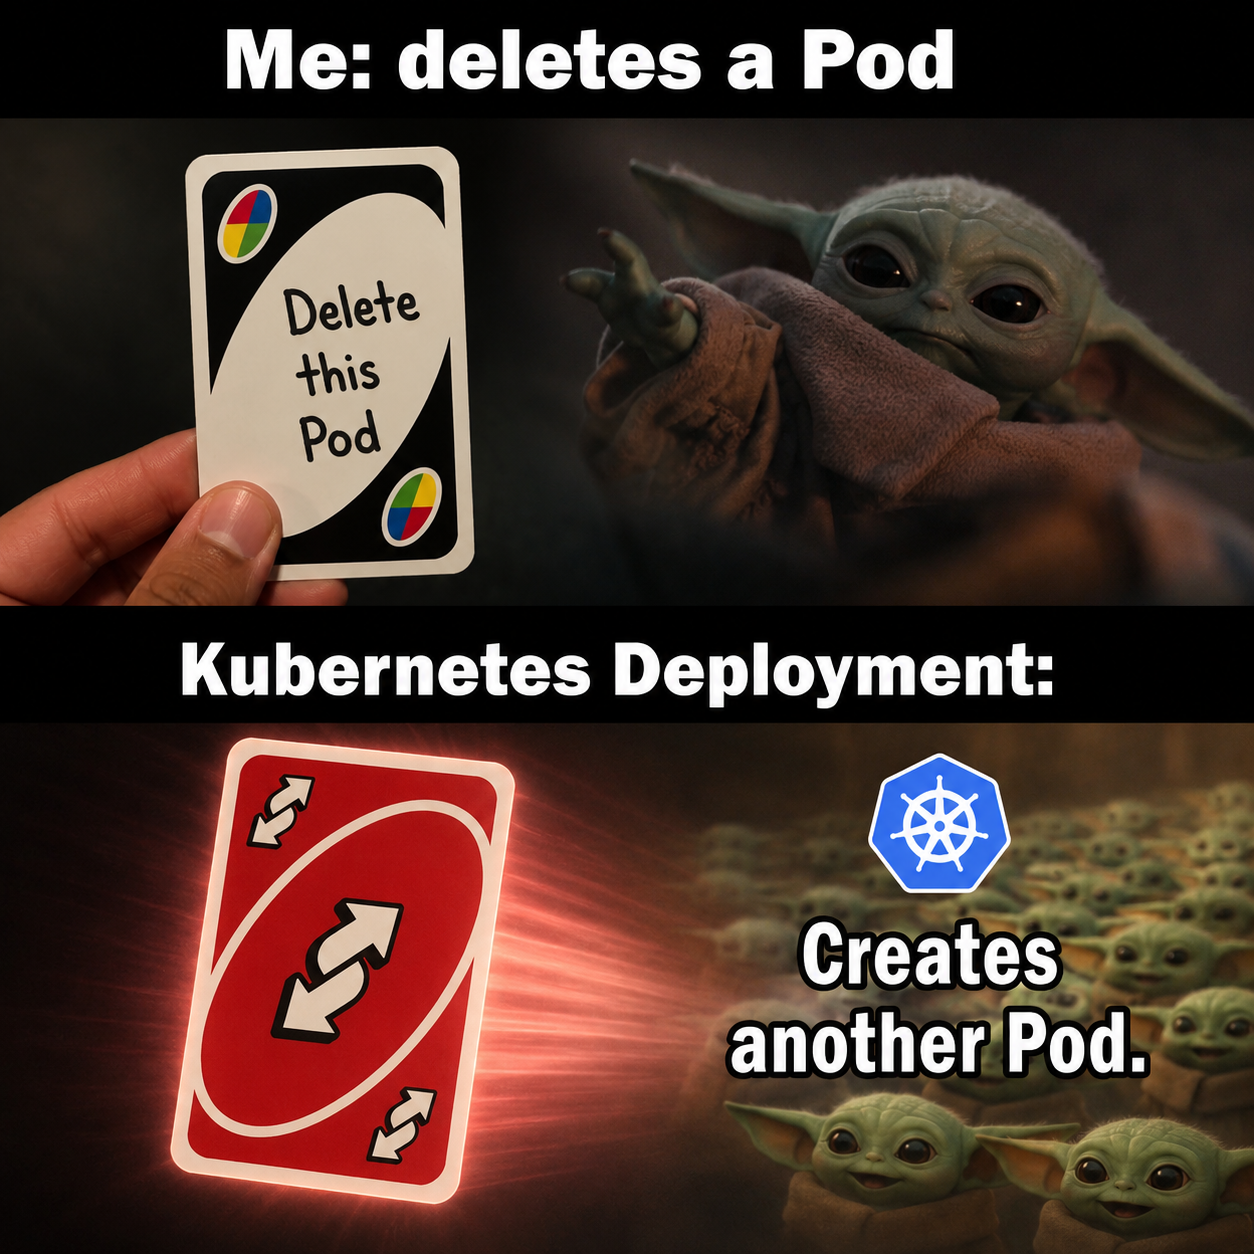
This is one of the most important ideas in Kubernetes.
You do not normally tell it every individual step.
You describe the result you want.
Kubernetes handles the babysitting.
Services give users a stable entrance
Pods can disappear and return with different network addresses. That creates a problem because users need a consistent way to reach your application.
A Service gives the application a stable network entry point.
In the restaurant analogy, the Service is the front desk.
Customers do not need to know which cook is available, which workstation is free, or which kitchen is preparing the order. They go to the same front desk, and the restaurant routes the order internally.
Similarly, a Kubernetes Service sends traffic to the appropriate Pods.
The individual Pods may change.
The Service remains.
Meet kubectl
Kubernetes may be the manager, but you still need a way to give that manager instructions.
That is what kubectl does.
kubectl is the command-line tool used to communicate with a Kubernetes cluster. You use it to view resources, create and update objects, delete things, inspect logs, run commands inside containers, and scale applications.
For example:
kubectl get podsThis asks Kubernetes to show you the Pods.
kubectl delete pod broken-pod-123This deletes a particular Pod.
kubectl scale deployment burger-app --replicas=5This tells Kubernetes that five copies of the application should be running.
Most commands follow a simple pattern:
kubectl <action> <resource> <name>The action tells Kubernetes what to do, the resource tells it what type of object you mean, and the name identifies the specific object.
There is also no universal agreement on how to pronounce kubectl.
Some people say "cube control."
Some say "cube C-T-L."
Some say "cube cuddle."
The safest strategy is to say it quickly and continue speaking before anyone can correct you.
Why AI infrastructure cares about Kubernetes
Kubernetes was already important for websites, payment systems, streaming platforms, cloud applications, and internal company tools.
Then AI arrived and asked for every GPU on Earth.
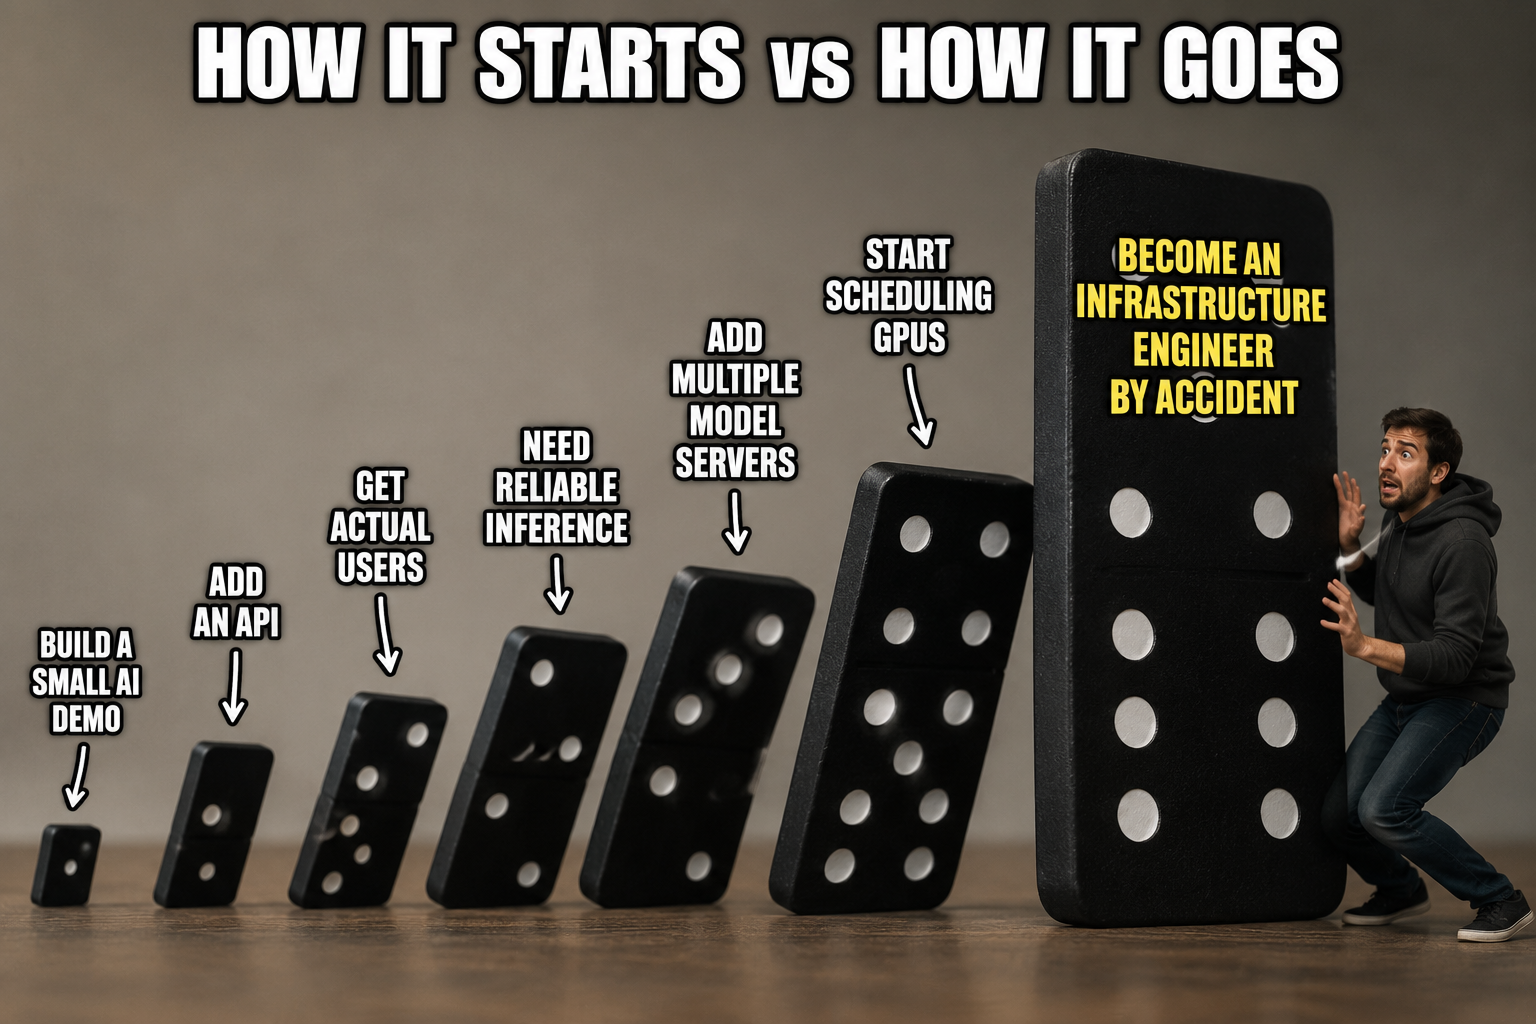
A small AI experiment might run in a notebook on your laptop. A real AI product may involve an API, a database, several model servers, background workers, request queues, monitoring systems, and a collection of GPU machines capable of producing a cloud invoice that causes physical pain.
AI models do not float magically inside the cloud.
They run on computers.
Those computers need to be allocated, monitored, scaled, repaired, and shared.
Imagine that your AI application normally receives 100 requests per hour, but a new customer suddenly sends 10,000. Kubernetes can help run more copies of the model server.
When traffic falls, those additional copies can be removed. If one model server crashes, Kubernetes can replace it. If a workload requires a GPU, Kubernetes can place it on a Node where that hardware is available.
This is especially relevant for two common AI workloads: training and inference.
Training is the process of teaching a model using data. It may require several powerful machines and GPUs working together for hours or days.
Inference happens when a trained model receives an input and produces an output.
Every time you send a prompt to a model and receive a response, inference is happening somewhere.
Kubernetes can help organize both training jobs and long-running inference servers. It does not make the model smarter, but it helps manage the machines, services, and workloads around the model.
Not every AI application needs Kubernetes.
If your chatbot has four users and three of them share your last name, you probably do not need a large cluster.
However, once an AI product has real traffic, multiple services, specialized hardware, and reliability requirements, infrastructure becomes just as important as the model itself.
Building the demo is one problem.
Keeping the demo alive is another.
Let's run something
Enough theory.
Let's create a small Kubernetes cluster on our computer.
For local learning, we can use Minikube, which creates a small Kubernetes cluster locally. You will need Docker, Minikube, and kubectl.
Start the cluster:
minikube startNow check the Nodes:
kubectl get nodesYou should see something similar to:
NAME       STATUS   ROLES           AGE   VERSION
minikube   Ready    control-plane   1m    v1.x.x
You now have a Kubernetes cluster containing one Node.
It is not Meta's infrastructure.
Please remain humble.
Deploy an application
Let's deploy an NGINX web server:
kubectl create deployment hello-k8s --image=nginx:alpineThis command tells Kubernetes to create a Deployment named hello-k8s using the nginx:alpine container image. Kubernetes then creates a Pod and places it on the available Node.
Check the Deployment:
kubectl get deploymentsThen check the Pods:
kubectl get podsYou should see something similar to:
NAME                         READY   STATUS    RESTARTS   AGE
hello-k8s-7c9d88f6d8-x9k2p   1/1     Running   0          20s
The Pod name looks like a password generated by someone who does not want visitors.
That is normal.
The important part is that the status says Running.
Your application is alive.
Make the application reachable
The Pod is running, but we still need a way to reach it.
Create a Service:
kubectl expose deployment hello-k8s --port=80Check the Service:
kubectl get servicesNow forward port 8080 on your computer to port 80 on the Service:
kubectl port-forward service/hello-k8s 8080:80Open the following address in your browser:
http://localhost:8080You should see the NGINX welcome page. Your browser is now talking to an application inside a container, inside a Pod, inside a Node, inside a Kubernetes cluster.
It is infrastructure all the way down.
Press Ctrl+C when you want to stop the port forwarding.
The kubectl commands you will use most often
You do not need to memorize every kubectl command.
Start with four:
get, describe, logs, and exec.
The get command lists resources and shows their current status:
kubectl get pods
kubectl get nodes
kubectl get deployments
kubectl get services
The describe command gives you more detail about a resource:
kubectl describe deployment hello-k8sIt can show labels, container images, configuration, current conditions, and recent events.
When something is broken, the Events section is often a good place to look.
The logs command shows the output produced by your application:
kubectl logs deployment/hello-k8sThis is useful when the application is technically running but emotionally unavailable.
Finally, exec lets you run a command inside a container:
kubectl exec -it <pod-name> -- shReplace <pod-name> with the name shown by kubectl get pods.
Type exit when you are done.
Scale the application
Right now, the Deployment has one Pod.
Let's ask for three:
kubectl scale deployment hello-k8s --replicas=3Check again:
kubectl get podsYou should now see three Pods. You did not manually create three containers. You changed the desired number of copies, and Kubernetes created the rest.
Now copy the name of one Pod and delete it:
kubectl delete pod <pod-name>Check the Pods again:
kubectl get podsKubernetes will create a replacement.
The Deployment says three Pods should exist.
You deleted one.
Kubernetes reviewed your decision and rejected it.
To watch this happen live, run:
kubectl get pods --watchPress Ctrl+C when you are finished watching Kubernetes quietly disagree with you.
The YAML situation
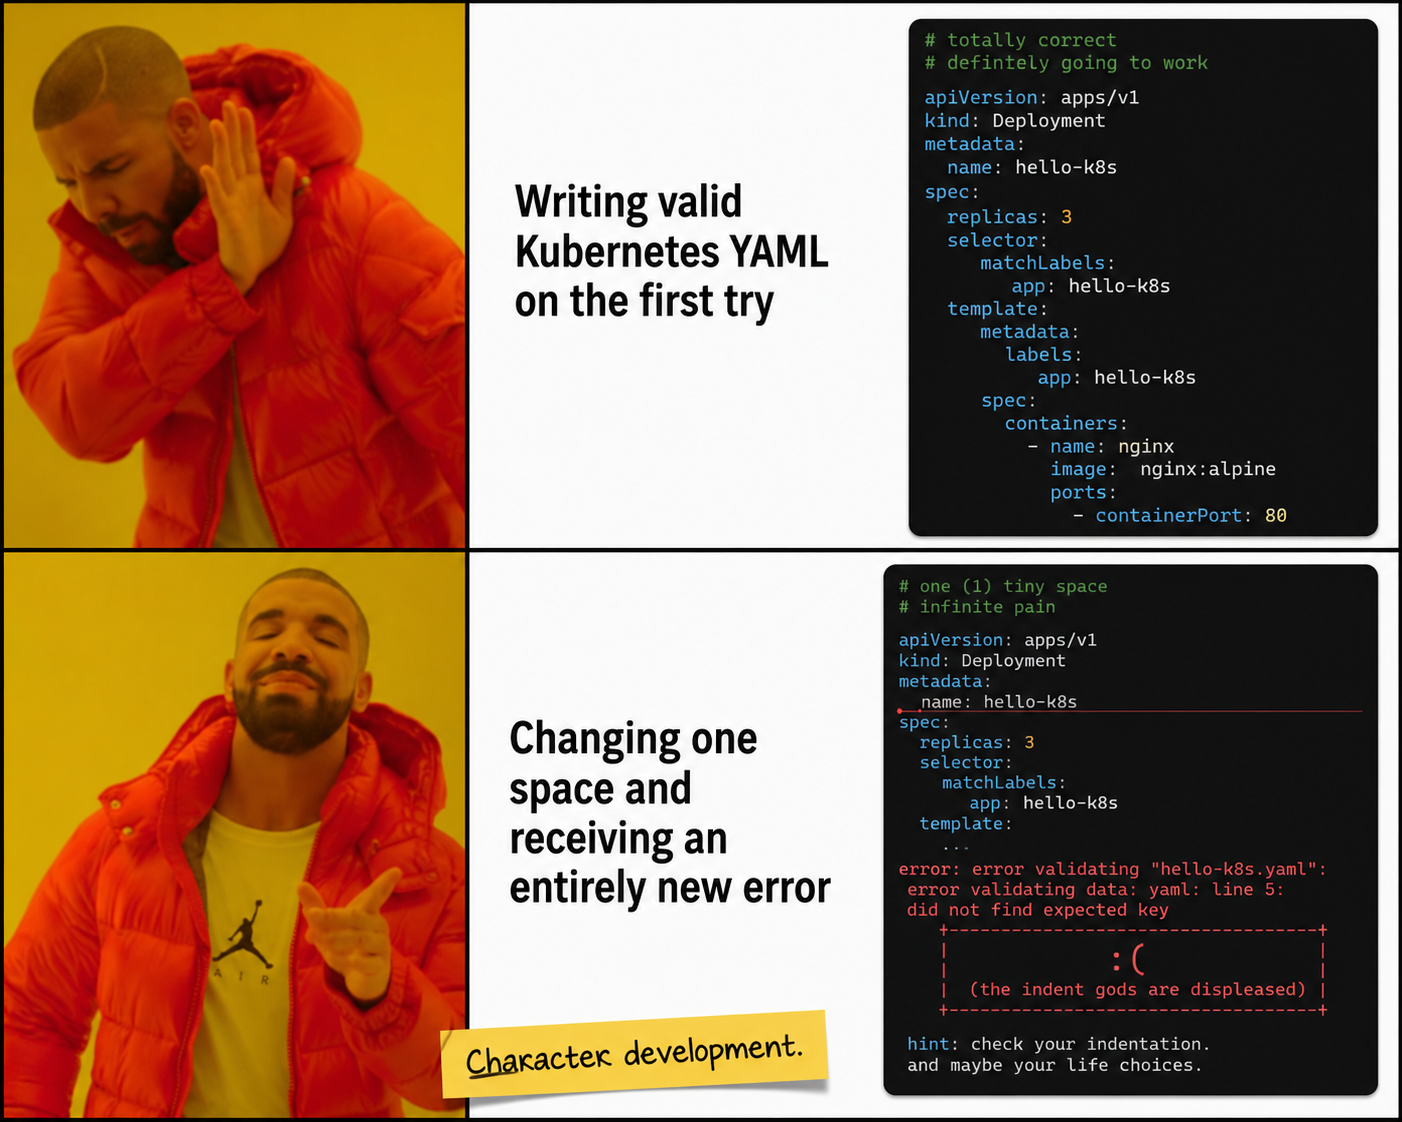
Typing commands is useful while learning, but Kubernetes configurations are commonly stored in YAML files.
A YAML file describes the resources you want Kubernetes to create and acts as a written version of your desired state.
Create a file named hello-k8s.yaml and add the following:
apiVersion: apps/v1
kind: Deployment

metadata:
  name: hello-k8s

spec:
  replicas: 3

  selector:
    matchLabels:
      app: hello-k8s

  template:
    metadata:
      labels:
        app: hello-k8s

    spec:
      containers:
        - name: nginx
          image: nginx:alpine
          ports:
            - containerPort: 80
This file tells Kubernetes to create a Deployment named hello-k8s, keep three Pods running, and place an NGINX container inside each one.
The labels and selector help the Deployment identify which Pods belong to it.
That is enough YAML for one day.
Delete the Deployment we created earlier:
kubectl delete deployment hello-k8sNow create it using the YAML file:
kubectl apply -f hello-k8s.yamlThe word apply roughly means:
"Please make the cluster match this file."
Check the result:
kubectl get deployments
kubectl get pods
Now change replicas: 3 to replicas: 5, save the file, and apply it again:
kubectl apply -f hello-k8s.yamlWhen you check the Pods, you should see five.
You changed one number in a file.
Kubernetes changed the running infrastructure.
That is the part that feels like magic until the YAML indentation breaks.
A small kubectl cheat sheet
# Show resources
kubectl get pods
kubectl get deployments
kubectl get services
kubectl get nodes

# View more detail
kubectl describe pod <pod-name>
kubectl describe deployment hello-k8s

# Read logs
kubectl logs <pod-name>

# Run a command inside a Pod
kubectl exec -it <pod-name> -- sh

# Apply a YAML file
kubectl apply -f hello-k8s.yaml

# Scale a Deployment
kubectl scale deployment hello-k8s --replicas=3

# Delete resources
kubectl delete pod <pod-name>
kubectl delete deployment hello-k8s

# Ask for help
kubectl --help
kubectl get --help
You can also create an alias:
alias k=kubectlThen:
kubectl get podsbecomes:
k get podsSeven fewer keystrokes.
Your terminal now assumes you are senior.
Cleaning up
Delete the resources created from the YAML file:
kubectl delete -f hello-k8s.yamlDelete the Service:
kubectl delete service hello-k8sFinally, stop Minikube:
minikube stopAnd that's it! Now you know enough about K8s that you can easily use it in any of your projects!'.
In our restaurant analogy, containers are the cooks, Pods are the workstations, Nodes are the kitchens, and the cluster is the entire operation. Deployments describe how many workstations should exist, Services give customers a stable entrance, and kubectl is the control panel used to manage everything.
The reason I wanted to write this was not simply to explain another developer tool. My experience at @Scale made me think more seriously about the growing gap between building AI applications and understanding the infrastructure required to operate them.
Calling an AI model is becoming easier.
Running one reliably at scale is still difficult. That's what most big tech companies are tackling right now.
As AI systems grow to include more models, APIs, agents, workers, inference servers, training jobs, and GPUs, Kubernetes will continue to play an important role in keeping everything organized.
This is also closely connected to a project I have been building called KCAVO. KCAVO is a kubectl plugin designed to help developers visualize Kubernetes resources, understand infrastructure costs, and identify possible optimization opportunities within their existing Kubernetes workflow.
Try it out, tell me what breaks, and consider leaving the repository a GitHub star.
It helps the project and my sanity for the most part lol.
This post was about Kubernetes.
The next one will be more personal.
My summer has already been surprisingly eventful, and I will soon be writing about how I have spent it, what I learned and the restaurant recommendations of course!
Until then, keep DEVELOPING.
Next issue
More personal, more technical, probably still slightly unhinged.
If you want the next post without visiting this web page each time, subscribe and I'll send it directly.
Subscribe to Newsletter